
Building an outdoor kitchen is more than a project; it's about creating a destination right in your own backyard—a place for gathering, cooking, and simply unwinding. With the right DIY outdoor kitchen plans, you can transform a plain patio into a true extension of your home's living space. Forget the intimidating price tags that come with professional installers; we'll walk you through how high-end modular components can give you a pro-grade finish on your own.
Your Starting Point For A Backyard Transformation
An outdoor kitchen is so much more than just a grill on a slab of concrete. It’s a statement about how you live, a commitment to entertaining, and a functional expansion of your home. This guide isn't about generic advice; it's a real-world roadmap to building a luxury outdoor culinary space. The goal isn’t just to assemble something, but to build it right—with materials that stand up to the elements and a design that feels completely natural to use.
The demand for these spaces has absolutely exploded. The global outdoor kitchen market is surging, jumping from USD 21.81 billion in 2023 to a projected USD 49.3 billion by 2033. Much of that growth comes from homeowners just like you, using detailed DIY outdoor kitchen plans to craft personalized backyard getaways. You can dig into this trend further over at SkyQuest Technology.
What This Guide Will Cover
Think of this as your starting point for building a space that's not just functional, but the true centerpiece of your yard. We'll zero in on the essential elements that define a high-end build, helping you sidestep common mistakes and make choices you’ll be happy with for years. Our focus is on durable, premium components—like heavy-gauge stainless steel cabinets and professional-grade grills—that are designed for DIY installation.
Throughout this guide, you can expect to learn about:
- Strategic Planning: How to properly assess your site, map out functional work zones, and create a blueprint that actually works for your lifestyle.
- Material Selection: Choosing genuinely weather-resistant materials like Grade-A teak, natural stone, and 304-grade stainless steel for both longevity and style.
- Utility and Foundation Prep: Tackling the critical groundwork of laying a solid foundation and safely planning for gas, electrical, and plumbing lines.
- Appliance Installation: A step-by-step approach to installing grills, refrigerators, sinks, and other key components just like a professional would.
A well-executed outdoor kitchen not only enhances your daily life but can also provide a significant return on investment by boosting your home's overall value and appeal.
This whole journey is about arming you with the confidence and the practical know-how to bring your vision to life. By focusing on quality components and a solid plan, you can create a luxurious outdoor kitchen that rivals any professionally installed setup. For a dose of inspiration, be sure to check out our collection of outdoor kitchen ideas to see what’s possible.
Alright, let's get started on building the outdoor oasis you've always wanted.
Crafting a Blueprint That Actually Works
Every great outdoor kitchen starts long before you lay the first stone or turn the first screw. It begins with a smart, practical blueprint—your personal roadmap to success. Trust me, skipping this planning phase is the number one reason DIY projects go sideways, leading to awkward layouts and expensive changes halfway through the build.
This isn't just about sketching something that looks good; it's about designing a functional space that works with your yard, not against it. Before you even start dreaming about materials, you need to get out there and really assess the site. Spend some time in your chosen spot at different hours.
Where does that hot afternoon sun land? You definitely don't want it beating down on your refrigerator, making it work twice as hard, or glaring right in your eyes while you’re trying to cook. And what about the wind? A prevailing breeze can play havoc with a grill's temperature, making consistent heat a constant battle. A poorly placed grill means you’ll be fighting flare-ups and temperature swings instead of enjoying yourself.
Mapping Your Kitchen's "Work Zones"
Once you've got a handle on the sun and wind, it's time to think about pure, ergonomic efficiency. Pro chefs design their kitchens around a "work triangle," and you should do the same. For an outdoor kitchen, I like to think of it as four key zones that need to flow together seamlessly.
- The Hot Zone: This is for your grill, side burners, and maybe a pizza oven. It needs great ventilation and must be a safe distance from the side of your house or any other flammable structures.
- The Cold Zone: Here’s where your outdoor refrigerator and ice maker live. Try to place this in a shady spot to help the appliances run efficiently and keep your drinks frosty.
- The Wet Zone: This is your sink and all its plumbing. It’s the hub for washing hands, rinsing veggies, and, of course, cleanup.
- The Prep Zone: This is your countertop workspace for chopping, seasoning, and plating. Ideally, it should sit right between the wet and hot zones to keep you from running back and forth.
A well-designed layout lets you move from rinsing vegetables at the sink, to chopping them on the counter, to dropping them on the grill in just a few steps. That's the secret to a kitchen that feels intuitive and effortless to use.
This whole process can feel overwhelming, but it really boils down to three simple stages.
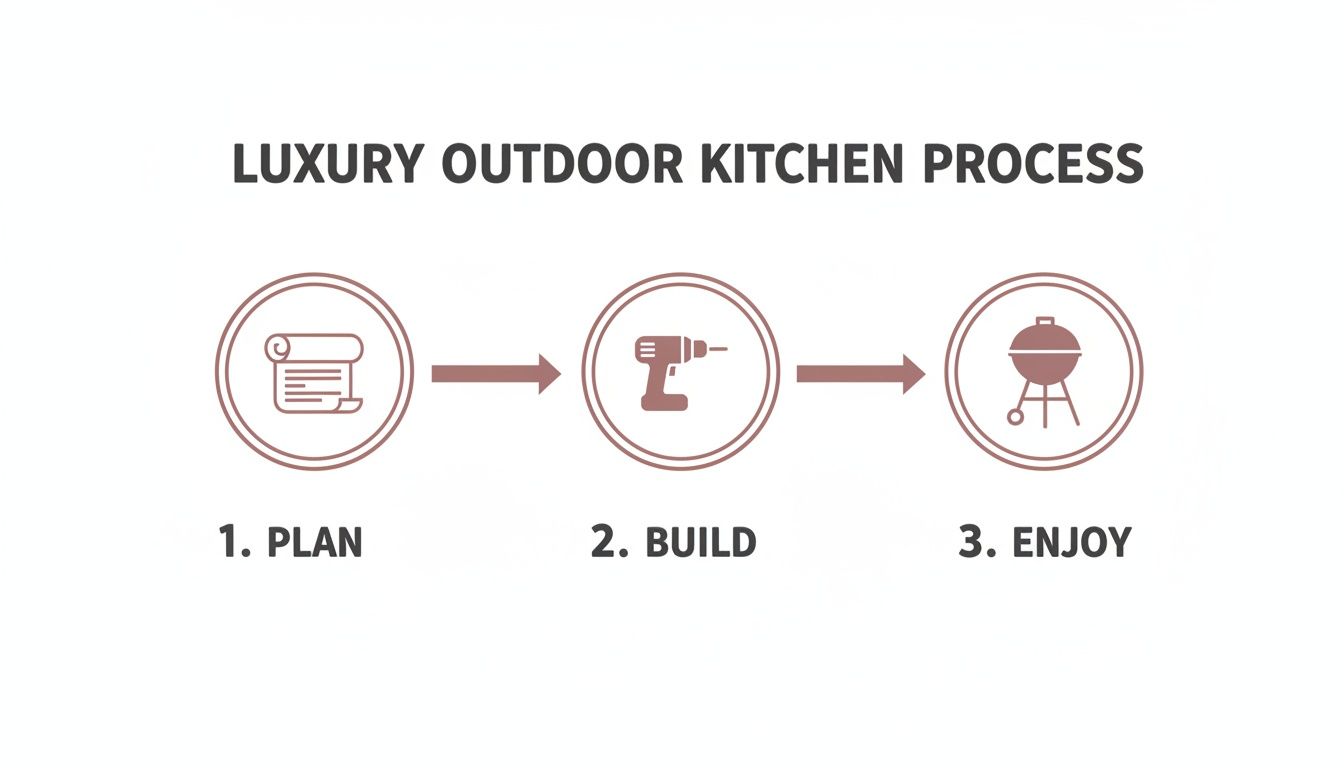
Breaking the project down like this reinforces that a solid plan is the foundation for everything that follows—the build itself and years of enjoyment.
From a Napkin Sketch to a Digital Plan
You don't need an architecture degree to draw up a solid plan. Seriously, just start with a simple sketch on graph paper. Measure your available space, the exact dimensions of your appliances, and how much countertop you want. This simple act of putting pencil to paper almost always reveals spatial challenges you hadn't even thought of.
If you're a bit more tech-savvy, there are some fantastic and free online design tools out there. Software like SketchUp Free or other online room planners let you build a 3D model of your kitchen. This is a game-changer for visualizing the scale, testing different layouts, and even playing with material finishes before you buy anything.
Your goal is to finalize a blueprint that nails down every measurement, appliance location, and utility hookup. Does your outdoor kitchen island have enough clearance to open the cabinet doors all the way? Is there a landing spot right next to the grill for a hot platter? Your blueprint is where you answer these questions for good. Think of it as your single source of truth, guiding every cut, connection, and purchase from here on out.
Choosing Materials That Endure And Impress
The materials you select are the heart and soul of your outdoor kitchen. They don't just dictate the look; they determine how your kitchen will stand up to sun, rain, and snow for years to come. This is where your DIY plans graduate from a simple patio project to a luxurious, permanent extension of your home.
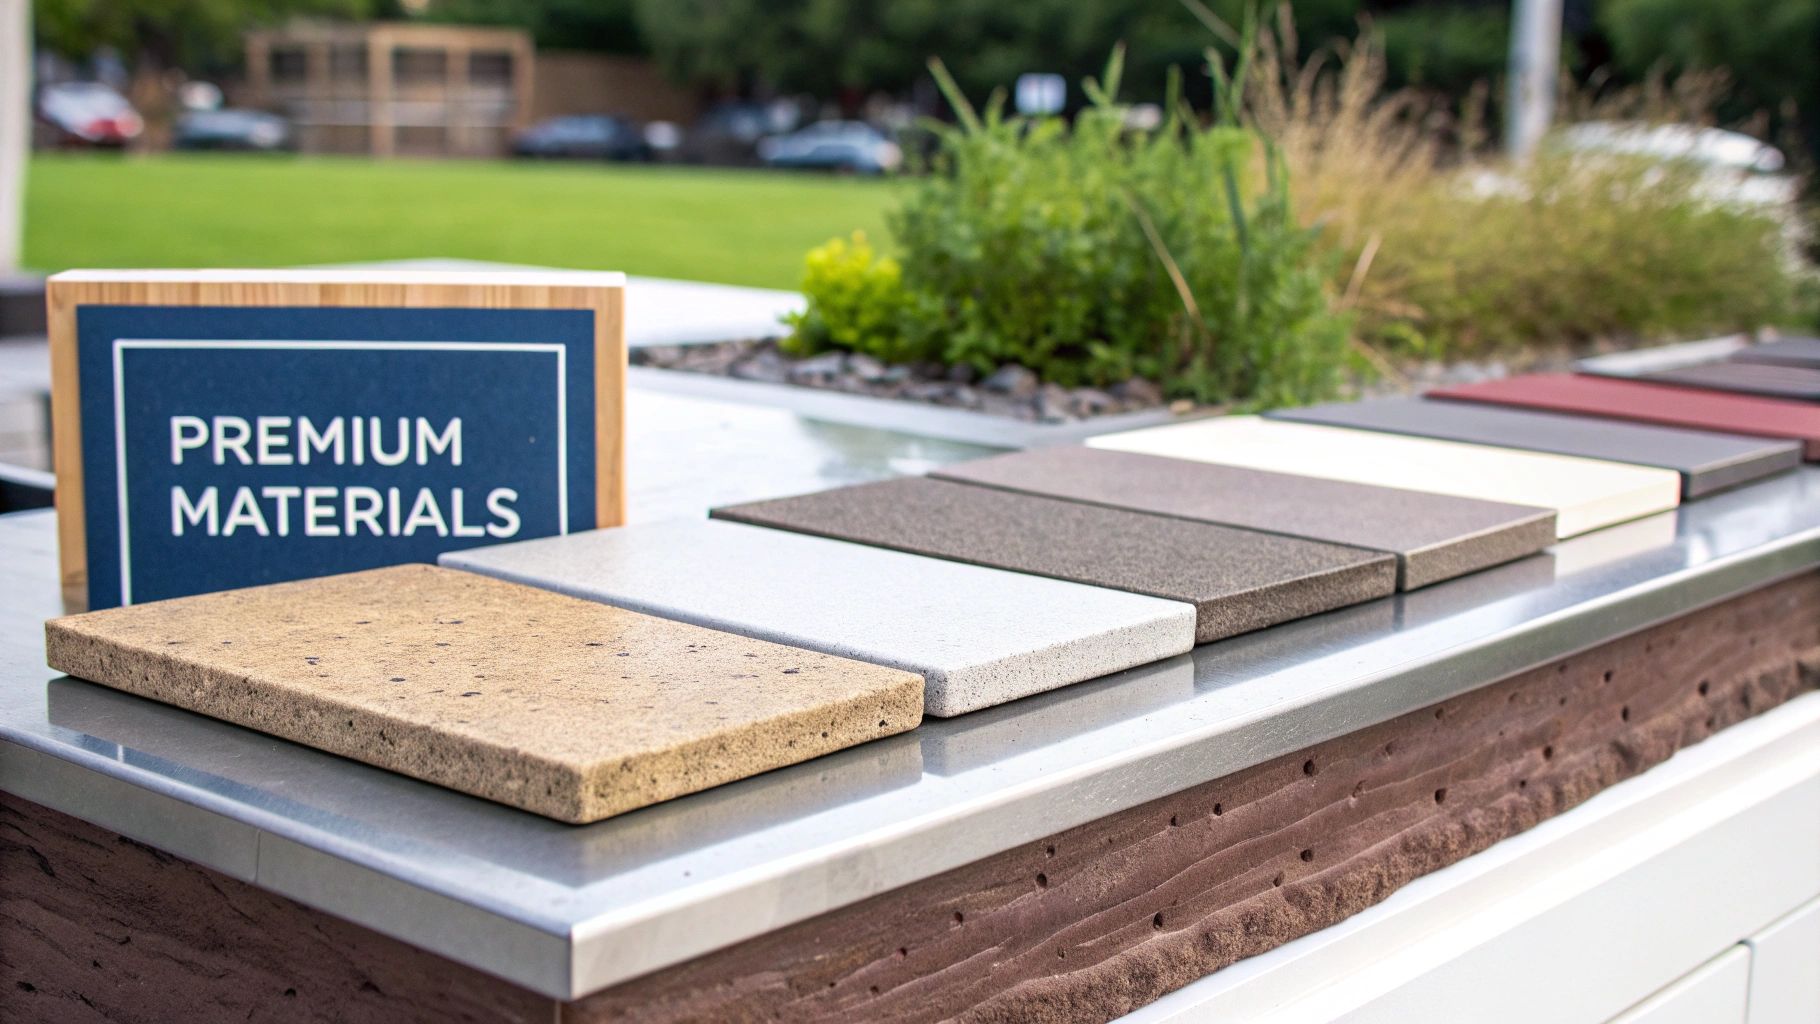
This decision is exactly why so many builders prefer a hands-on approach. Think about it: offline sales channels still dominate the outdoor kitchen appliance market with a massive 74% share. In an industry valued at USD 7.2 billion and still growing, that says something. According to a market analysis from Global Market Insights, people want to see and touch these materials—to feel the heft of heavy-gauge steel or the dense, cool surface of a stone slab—before locking them into their plans.
The Foundation: Stainless Steel and Marine-Grade Polymers
Let’s talk about the bones of your kitchen—the framework and cabinetry. Traditional wood is beautiful, no doubt, but it demands constant maintenance to fight off rot and warping in an outdoor environment. That’s why modern, high-end builds lean heavily on more resilient options.
- 304-Grade Stainless Steel: For all appliances, access doors, and cabinet frames, this should be your non-negotiable starting point. Its high chromium and nickel content gives it exceptional resistance to rust and corrosion, which is an absolute must if you live anywhere near the coast where salt is in the air.
- Marine-Grade Polymers (HDPE): When it comes to cabinet doors and panels, high-density polyethylene is a total game-changer. This stuff is completely waterproof, so it will never swell or delaminate. Plus, it's UV-stabilized to keep it from fading. You get the clean look of painted wood without any of the headaches.
If you take one thing away for your DIY plans, let it be this: build the core structure with materials that are fundamentally impervious to moisture. Making this single decision upfront will save you countless hours and dollars in future repairs.
Selecting Countertops That Make a Statement
Your countertops are the main stage—they have to look great and perform flawlessly. The right choice here is a careful balance of aesthetics, durability, and your budget. But above all, it must be rated for outdoor use and, if you live in a colder climate, for freeze-thaw cycles.
To help you decide, let's look at some of the top contenders. Each material brings something different to the table, from its look and feel to its long-term care requirements.
Comparing Popular Outdoor Kitchen Materials
| Material | Durability | Maintenance Level | Typical Cost | Best For |
|---|---|---|---|---|
| Granite | Excellent | Low to Medium | $$$ | High-traffic areas, classic look, heat resistance. |
| Quartzite | Excellent | Low | $$$$ | Unbeatable durability, natural stone beauty. |
| Concrete | Very Good | Medium | $$ | Modern, industrial aesthetic, custom shapes/colors. |
| Stainless Steel | Excellent | Low | $$$ | Sleek, professional look, hygienic and easy to clean. |
| Teak (as accent) | Excellent | Low to Medium | $$$$ | Adding natural warmth and texture. |
As you can see, there's no single "best" option—it's all about what fits your vision and lifestyle. Granite and quartzite are incredibly tough and timeless, while concrete offers a more industrial-chic vibe.
A popular choice like polished concrete gives you that sleek, modern aesthetic and can be customized with different colors. It's incredibly durable, but you have to be diligent about sealing it properly and periodically to prevent stains and weather damage.
On the other hand, natural stones like granite or quartzite offer classic beauty and are exceptionally tough. Granite, in particular, handles heat from hot pans like a champ and is less porous than marble, making it a far more practical choice for an outdoor cooking space. One pro tip: darker stones absorb a lot of heat, so a lighter shade might be more comfortable to work on if your kitchen gets a lot of direct sun.
Timeless Touches With Natural Wood Accents
While building the main structure out of wood is asking for trouble, using it as an accent can bring a warmth and texture that other materials just can't replicate. The secret is picking the right kind of wood.
For accents like open shelving, trim, or a unique feature panel, nothing beats Grade-A teak. This tropical hardwood is packed with natural oils that make it incredibly resistant to water, rot, and insects. It will slowly weather to a beautiful silvery-gray patina over time, but its structural integrity will remain solid for decades. To learn how to keep it looking its best, you can find great tips in our guide on the care and maintenance of outdoor teak furniture.
Remember, every material you choose impacts how much you'll enjoy your outdoor kitchen down the road. By selecting premium, weather-appropriate materials from the start, you're ensuring your space remains a stunning, low-maintenance hub for entertaining for years to come.
Power, Plumbing, and Permits: Getting the Groundwork Right
This is where the dream starts to get real. You’ve got the sketches and the vision, but now it’s time to tackle the technical side of things—the stuff that makes an outdoor kitchen functional, safe, and built to last. Honestly, this phase is less glamorous than picking out granite, but getting the foundation and utilities right is the single most important part of the build. Skimp here, and you're setting yourself up for major headaches down the road.
The absolute bedrock of any serious outdoor kitchen is its foundation. While a simple grill cart can sit on a paver patio, a custom, built-in structure loaded with appliances and stone needs a reinforced concrete slab. This isn't a place to cut corners. Your kitchen is heavy, and it needs a perfectly level base that won’t shift, sink, or crack with seasonal ground movement.
For most projects, a slab that's at least four inches thick, reinforced with rebar or wire mesh for tensile strength, is the professional standard.
Laying Out Your Utility Lines
Before you even think about pouring concrete, you have to map out your kitchen's lifelines: gas, electricity, and water. These lines will need to run through conduits and pipes underneath the slab, so planning is everything. While I always recommend hiring licensed pros for the final hookups, you’re the project manager—you need to know exactly where each line will surface.
- Running Electrical: You’ll be surprised how much power an outdoor kitchen can draw. Think about it: a refrigerator, task lighting, rotisserie motor, and convenience outlets all add up. Plan for dedicated circuits, and make sure every single outdoor outlet is GFCI (Ground Fault Circuit Interrupter) protected. This is a non-negotiable safety measure that cuts power instantly if it detects a fault, which is critical in a potentially wet environment.
- Plumbing Your Gas: Whether you’re tapping into your home’s natural gas or running a line from a bulk propane tank, this is a job for a licensed plumber. They'll ensure the pipe is correctly sized for your grill's BTU output and buried at the proper depth. For a clean, safe, and incredibly convenient setup, a quick-disconnect gas valve is a must. Something like this quick disconnect hose kit is exactly the kind of pro-grade hardware you want for a secure, easy-to-use connection.
- Adding Water and Drainage: An outdoor sink is a true game-changer. You'll need to run both hot and cold water lines out to the kitchen. If you live in a colder climate, make sure these lines are buried below the frost line and properly insulated to prevent freezing. For drainage, connecting to your home’s sewer line is the best-case scenario. If that's not feasible, a French drain or a small dry well for greywater might be an option, but you'll need to check if your local codes allow it.
My Two Cents: When digging trenches, try to bundle your utility lines in the same trench to minimize disruption, but always follow code for safe separation distances between gas and electric. Before you backfill, mark the exact path of every pipe and wire on your plans and take a bunch of photos with your phone. Trust me, you'll be thankful for that visual record years from now if you ever need to dig again.
Don't Skip the Permit Office
Before a single shovel hits the dirt, your first stop should be your local building department’s website or office. It’s a huge mistake to assume your project is too small to need a permit.
Municipalities have very specific rules about things like:
- Setbacks: How far your kitchen must be from property lines and your home.
- Utility Work: Electrical and plumbing work almost always requires a permit, a licensed professional, and a final inspection.
- Gas Lines: Codes are incredibly strict about pipe depth, materials, and shut-off valve locations.
- Foundations: Many areas, especially those with frost heave, have rules on footing depth and reinforcement.
Dealing with permits can feel like a bureaucratic chore, but it exists to protect you, your family, and your investment. By doing the structural and utility groundwork by the book, you’re building a foundation—both literally and figuratively—for a safe, functional, and incredible outdoor kitchen that you'll enjoy for years to come.
Installing Your Appliances: The Grand Finale
You’ve built the frame, run the utilities, and finished the surfaces. Now for the most satisfying part of the entire project: installing the appliances. This is the moment your island of stone and steel finally comes to life as a high-performance outdoor cooking station. Getting the installation sequence right is the key to that seamless, professional finish you're after.
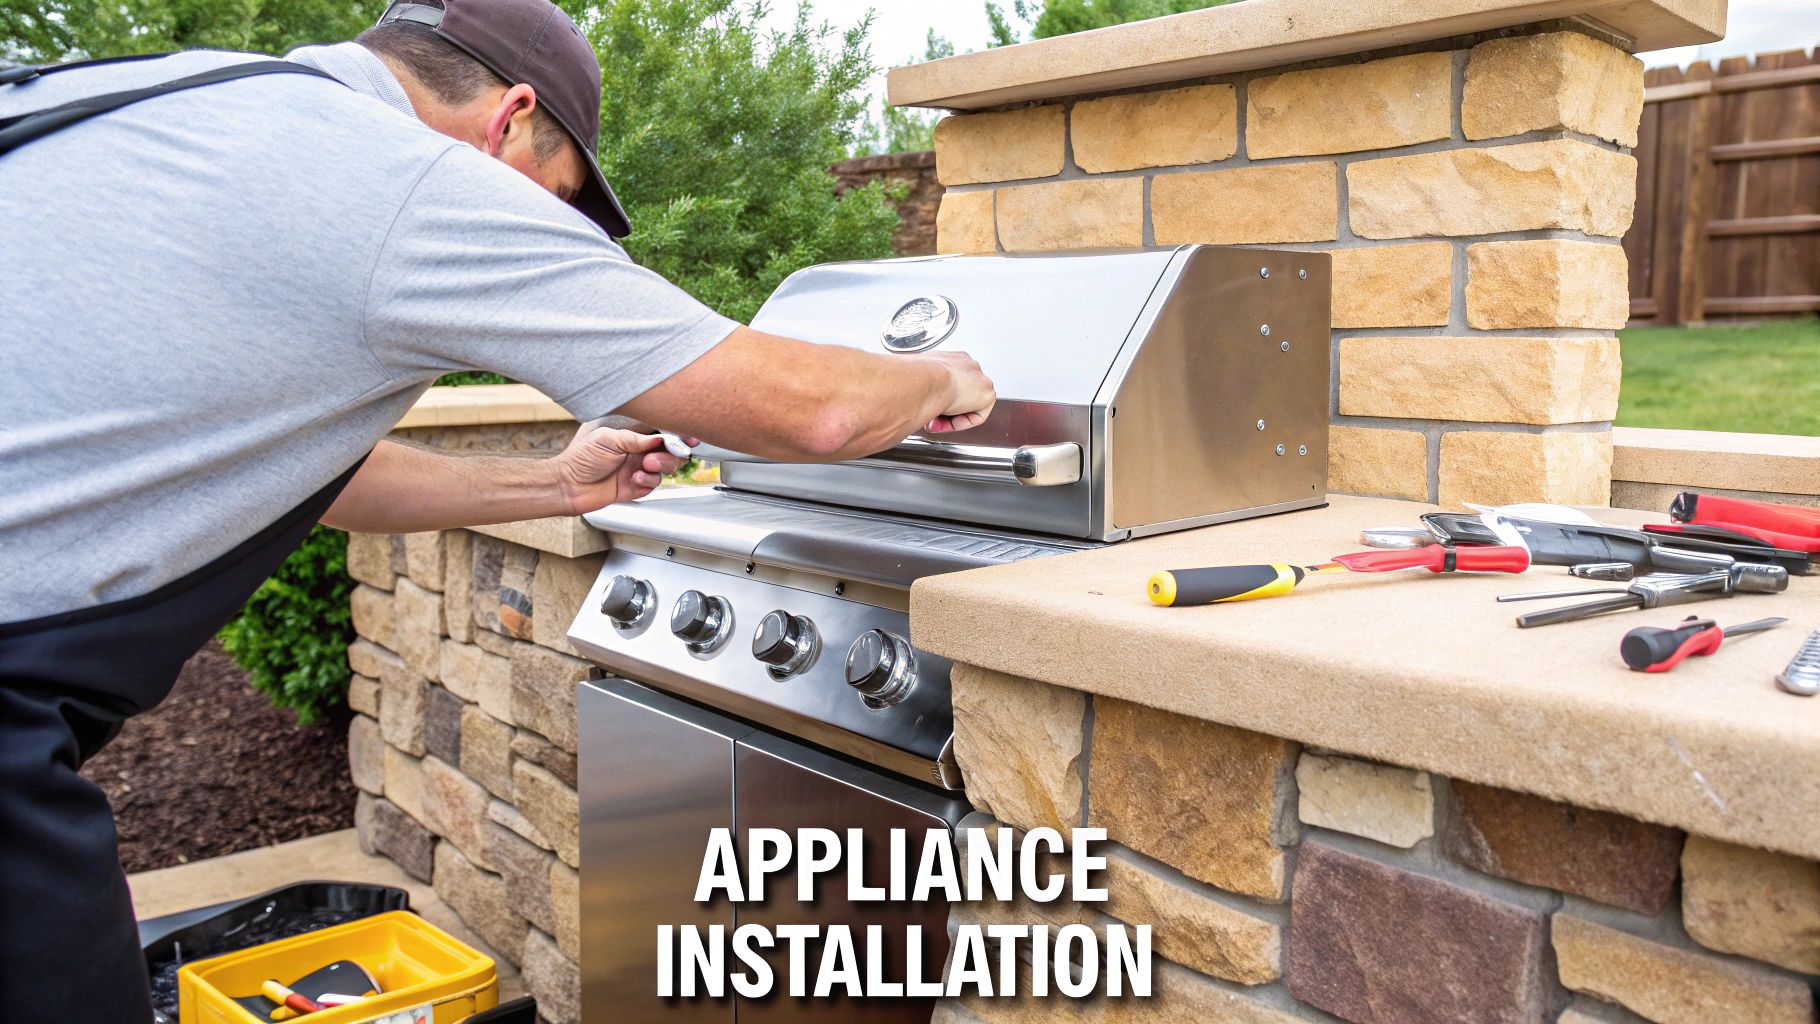
It’s no surprise that DIY outdoor kitchens are a huge driver in the residential market, which now makes up a 63.30% share of the global outdoor living space. As luxury builders know, this means sourcing and installing top-tier gear to create those dream backyard kitchens. What's interesting is that while many people tackle the build themselves, about 84% of homeowners still bring in the pros for tricky jobs like the final utility hookups. This detail from Grand View Research highlights the importance of getting these critical steps right.
Start with the Main Event: The Built-In Grill
Your built-in grill is the heart of the kitchen, so it absolutely has to go in first. Before you do anything else, grab the manufacturer's cut-out specs and double-check your opening. Measure twice—you only get one shot at cutting that countertop.
Most high-end grills are designed to simply rest on the countertop's edges, but some of the heavier beasts might need extra support brackets built into the island's frame. Before you slide the grill into its new home, run a bead of high-quality, outdoor-rated silicone sealant around the edge of the cutout. This creates a waterproof seal and stops moisture from getting inside your island.
With the grill in place, it's time to connect the gas line. This is a crucial safety step. Use a flexible stainless steel gas connector and be sure to tighten every fitting securely with two wrenches—one to hold the fitting steady, the other to turn the nut.
Pro Tip: Always Leak Test Your Gas Lines.
Mix a 50/50 solution of dish soap and water in a spray bottle. Spray it on every single connection point and turn on the gas. If you see bubbles forming, you've got a leak. Shut off the gas and tighten that fitting immediately.
Next Up: Your Refrigerator and Sink
Once the grill is set, you can move on to the "cold" and "wet" zones. Installing an outdoor refrigerator isn't just a matter of sliding it in and plugging it in. Proper ventilation is absolutely non-negotiable if you want it to last.
Most under-counter outdoor fridges need at least a one-inch air gap on all sides and the back. This allows the heat from the compressor to escape. Without it, the unit will constantly overheat and fail way sooner than it should. Smart DIY plans often include stainless steel vent panels on the sides or back of the island to guarantee good airflow.
Installing your sink follows a similar, careful process:
- Dry Fit First: Drop the sink into its cutout to make sure it's a snug, level fit before you even think about sealant.
- Apply Sealant: Run a clean bead of silicone caulk around the underside of the sink's lip.
- Set and Secure: Lower the sink into the opening, press down firmly, and use the mounting clips that came with it to lock it down from underneath the counter.
- Connect Plumbing: Hook up the faucet supply lines and the drain assembly. Start by hand-tightening everything, then give each connection a final quarter-turn with a wrench.
After everything is connected, turn on the water and carefully check every single connection for drips, from the faucet base all the way down to the P-trap. For more ideas on outfitting your space, take a look at our guide to essential outdoor kitchen appliances.
The Finishing Touches: Access Doors and Safety Checks
The last real step is installing your access doors, storage drawers, and any other modular components you’ve planned for. These usually have a flange that sits flush against your island’s exterior finish. Just apply a thin bead of silicone to the back of the flange and screw it securely into the structure.
This is also your last chance to seal up any remaining gaps. Use expanding foam or caulk on the inside of the island to close off any openings where utility lines enter. It's a simple step, but it’s surprisingly effective at keeping pests and rodents from moving into your beautiful new kitchen.
Finally, do one last, thorough safety check. Fire up every burner on your grill, test your GFCI outlets to confirm they work, and make sure every door and drawer opens and closes smoothly. This final, meticulous inspection is what turns a collection of parts into a cohesive, safe, and fully functional outdoor kitchen you built with your own two hands.
Common Questions from DIY Outdoor Kitchen Builders
When you're building a custom outdoor kitchen, you're bound to run into a few snags. It just comes with the territory. No matter how perfect your plans look on paper, the real world always throws a curveball or two. Let’s walk through some of the questions I hear most often from builders on the ground.
Getting ahead of these common issues can save you a ton of headaches and money down the road. This isn't about avoiding problems—it's about having smart solutions ready when they pop up.
What’s the Biggest Mistake People Make in Their Plans?
Easily the most common—and most expensive—mistake is bad workflow planning. It happens all the time. First-time builders get laser-focused on the cool stone finish or the high-tech grill and completely overlook the ergonomics of actually using the space. They end up with a grill miles away from the prep counter, or a fridge on the opposite end of the island from the sink.
That kind of layout makes for a clumsy and frustrating cooking experience. A great plan always starts by mapping out the work zones: the "hot zone" (grill), "cold zone" (fridge), "wet zone" (sink), and "prep zone." You want them in a logical sequence that minimizes your steps. Always design for function first; the beautiful form will follow.
The best outdoor kitchens feel effortless. You should be able to move from the fridge to the sink to the prep counter to the grill without backtracking or doing laps around your own island.
How Much Can I Realistically Save by Building It Myself?
Taking on the build yourself can realistically save you 40-60% on the total cost. The lion's share of a professional installation quote—which can easily run from $5,000 to over $20,000—is just labor. When you're the one sourcing materials, building the frame, and setting the appliances, you wipe that massive expense right off the budget.
But don't let the potential savings tempt you to cut corners where safety is on the line. Always budget for a pro where it counts.
- Licensed Electrician: You need one for running power and safely connecting outlets and appliances. Don't mess with this.
- Licensed Plumber: For running gas lines and ensuring your water and drain hookups are leak-free and up to code.
This hybrid approach gives you the best of both worlds: huge savings on the construction and the professional peace of mind that comes with knowing the utilities are done right.
What’s the Best Foundation for an Outdoor Kitchen?
Hands down, a reinforced concrete slab is the gold standard. It’s the most reliable foundation you can build for a permanent outdoor kitchen. A slab provides a perfectly level, stable, and incredibly strong base that can handle the massive weight of the island, heavy countertops like granite, and a full set of appliances without breaking a sweat.
Sure, a well-built paver patio might work for a lightweight, modular metal setup, but it’s just not the right choice for a heavy, custom-built island. A concrete slab is your insurance against the ground shifting or settling over time, which is what causes ugly cracks in your stone veneer, grout lines, and countertops.
Think of it this way: the foundation is the one place you never, ever want to skimp. It’s the bedrock that protects your entire investment for decades. A solid foundation ensures all your hard work stands strong against the elements.
Ready to start designing your ultimate backyard escape? At URBANMANCAVES, we provide the heirloom-quality components you need, from professional-grade grills to heavy-gauge stainless steel cabinets, all designed for the ambitious DIY builder. Explore our curated collections and build a space that lasts a lifetime.