

Every great outdoor kitchen starts with one simple question: What do you actually want to do with it?
Seriously. Before you start dreaming about stainless steel and granite, you need a mission. This isn't just about building a spot to flip burgers; it's about creating the new soul of your backyard. Nail this part, and the rest of the project flows beautifully. Mess it up, and you've just built a very expensive, very permanent obstacle.
Your Blueprint For The Ultimate Backyard Kitchen
Let's be clear: this isn't just a fleeting trend. People are all-in on creating legit outdoor living spaces. The global outdoor kitchen market was valued at a whopping $23.66 billion in 2024, and it's on track to blow past $45.45 billion by 2032.
That explosion in growth tells you everything you need to know. This is a real investment in lifestyle, not just property value.
What’s Your Island’s Mission?
Don’t just think "outdoor kitchen." Get granular. Is this a solo grill master's sanctuary, a full-blown party hub, or the go-to spot for lazy Sunday morning pancakes with the kids? Your answer will shape every single decision that follows, from the appliances you choose to where your guests will sit.
Here are a few classic archetypes to get you thinking:
- The Chef's Command Center: This is all about function. We're talking massive prep surfaces, a beast of a grill as the main event, and smart storage for every tool and spice. Seating is an afterthought because the real show is the cooking.
- The Social Hub & Bar: If your goal is to entertain, this is your play. This layout is built around a raised bar for seating, a beverage fridge or kegerator, a drop-in ice bin, and a sink for cocktail prep. The grill is still there, but it’s positioned so you can chat with guests while you cook.
- The Family Gathering Point: This design is a perfect blend of cooking and hanging out. It usually has a big, single-level countertop with plenty of seating for casual meals. Integrating a flat-top griddle here is a pro move—it turns your island into the ultimate spot for everything from breakfast to smash burgers.
I've seen it a hundred times: people try to cram every possible feature into one island. The result is always a cramped, awkward mess. Be honest with yourself. If you're a serious pitmaster, give yourself the counter space you deserve. If you host big parties, prioritize seating and easy access to cold drinks.
Outdoor Island Layouts At A Glance
Choosing the right shape is a huge part of the puzzle. It dictates the flow of traffic, how you interact with guests, and how efficiently you can cook. Here’s a quick rundown to help you visualize what might work best in your yard.
| Layout Style | Best For | Key Feature | Appliance Integration |
|---|---|---|---|
| Linear | Smaller patios, narrow spaces | Simple, space-efficient, great against a wall | Good for basic grill, sink, and fridge setups |
| L-Shape | Creating distinct cooking and social zones | Excellent workflow, natural conversation area | Easily accommodates grills, side burners, and sinks |
| U-Shape | Large spaces, the ultimate entertainer's setup | Maximum counter space and storage | Can house a full suite of appliances |
| Galley | Pass-through areas, separating two spaces | Two parallel counters for a pro-kitchen feel | Perfect for separating hot and cold zones |
Ultimately, the best layout is one that feels intuitive in your space. Walk it out with stakes and string before you ever break ground to get a real feel for the footprint and flow.
Harmonizing With Your Home And Landscape
Your new kitchen island shouldn't look like it just landed from another planet. It needs to feel like it's always been there, a natural part of your home's architecture and the surrounding yard. This is the secret sauce that makes a project look truly high-end.
Start with your house. Got a modern home with clean lines? Think sleek materials like polished concrete countertops and minimalist stainless steel doors. For a more traditional or rustic home, you can't go wrong with a natural stone veneer and a rugged flagstone top. The goal is to create a seamless visual story. For a firehose of killer visual concepts, check out our guide on compelling outdoor kitchen ideas.
Finally, pay attention to Mother Nature. Position your island to work with the elements, not against them. Angle the seating to capture the best views while shielding your guests from the brutal afternoon sun or that annoying prevailing wind. Think about the path people will take from the house to the patio or pool. A great layout makes that journey feel natural and easy, turning potential design headaches into moments of genius.
Choosing Your Arsenal of Materials and Appliances
The frame might be the skeleton of your outdoor kitchen, but the materials and appliances you choose are its heart and soul. This is the fun part, where you go from just building a structure to creating the centerpiece of your backyard for years to come. Forget the flimsy, big-box store advice; let's talk about what actually survives brutal sun, sideways rain, and surprise freezes.
Your choices here will dictate the island's entire personality, its toughness, and, most importantly, how much you genuinely love using it. This isn't just about making it look pretty—it's about building it to perform.
Forging a Frame That Lasts Forever
When it comes to the bones of your outdoor kitchen, there’s one clear winner, and it’s not even a fair fight: heavy-gauge stainless steel. Sure, pressure-treated wood looks tempting on a budget, but it’s a short-term fix for what should be a permanent part of your home. Wood is a magnet for moisture, rot, and pests, especially when it's boxed into an island with limited airflow.
A steel frame, on the other hand? It’s fireproof, couldn’t care less about water, and it won't warp or twist when the seasons change. That kind of rock-solid integrity is what you need to support a heavy granite countertop and make sure your beautiful stone cladding doesn't start cracking a year from now. The pros use it for a reason—it’s built to outlast the house.
Selecting Your Countertop and Cladding
The countertop is your main stage, your prep station, and the first thing everyone will notice. You need something that can handle a sizzling hot pan, red wine spills, and relentless UV rays without batting an eye.
- Granite: The tried-and-true classic. It's tough as nails, shrugs off heat and scratches, and choosing a lighter color can even help keep the surface from getting scorching hot in the sun.
- Quartzite: Think of it as granite's tougher older brother. This natural stone is incredibly resilient and comes in some absolutely stunning, one-of-a-kind patterns. A top-tier choice for a show-stopping look.
- Polished Concrete: Want a sleek, industrial vibe? This is it. You can customize the color and finish to your heart's content, but you have to be religious about sealing it to keep stains at bay.
For the body of the island—the cladding—you’re setting the aesthetic tone. Stacked stone veneer gives you that rugged, earthy feel, while big, sleek porcelain tiles can create a super clean, modern look. Both are fantastic, weatherproof choices. The real trick is picking a style that feels like a natural extension of your home's architecture.
Curating Your Dream Appliance Suite
Okay, now we're getting to the good stuff. An island with just a grill is nice, I guess. But an island with a thoughtfully chosen suite of appliances? That's a five-star entertainment hub. The goal is to create a seamless workflow that makes cooking for a party feel easy, not chaotic.
Think way beyond just the grill. A high-BTU grill is your cornerstone, but these are the game-changers:
- Flat-Top Griddle: We're talking Sunday morning pancakes and bacon, smash burgers for a crowd, or even a full-on hibachi night. The versatility is just incredible.
- Wood-Fired Pizza Oven: Let's be honest, nothing beats the taste of a real wood-fired pizza. It instantly becomes an event, with everyone gathered around making their own creations.
- Outdoor Refrigerator: This is a non-negotiable. It keeps drinks frosty and your ingredients right where you need them, saving you from a dozen trips back inside.
- Sink & Ice Bin: A sink is a must for prep and cleanup, and a drop-in ice bin instantly turns your island into a full-service bar.
For a deeper dive into the must-have gear, you might want to check out our guide on outdoor kitchen essentials.
Think about how you cook indoors. You probably move from the fridge (cold), to the sink/counter (prep), to the stove (hot). Recreate that "work triangle" outdoors. It makes everything feel more natural and keeps you from running around like a headless chicken.
The demand for killer outdoor spaces is absolutely exploding. In fact, the market for just outdoor kitchen cabinets is expected to jump by $1.51 billion between 2024 and 2029. This boom sends a clear message: people are investing in real, durable materials like stainless steel and polymers to build complete outdoor kitchens. You can see more on this trend over at Technavio.com.
By picking the right mix of bulletproof materials and high-performance appliances, you’re not just building an island. You’re crafting the ultimate spot for making food and memories.
Bringing the Bones to Life: Foundation and Framing
Alright, this is where the fun really starts. Your carefully drawn plans are about to jump off the page and take shape right in your backyard. We're trading pencils for power tools and building the rock-solid skeleton that will anchor your outdoor cooking empire for years.
We're not messing around with flimsy wood frames that will inevitably rot or become a bug buffet. This is about building a permanent structure that can take whatever Mother Nature throws at it. It all comes down to precision and strength—get this part right, and the rest is smooth sailing.
It All Starts on Solid Ground
Before you even think about cutting a single piece of steel, your island needs a perfectly level and stable base. I've seen it a hundred times: a wobbly foundation leads to a wobbly island, which eventually causes cracked countertops and busted cladding. That’s a heartbreaking and expensive fix.
You’ve got two solid, pro-level options here:
- Reinforced Concrete Slab: This is the undisputed champion. It’s permanent, unmovable, and distributes the massive weight of a fully loaded island perfectly. If you're building on soft soil or live where the ground freezes, a proper concrete footing is non-negotiable. Don't even think about skipping it.
- Interlocking Pavers: This can also work, especially if it's part of a larger paver patio you're installing. The key, and I can't stress this enough, is a meticulously compacted base of gravel and sand. If it settles even a little, your whole island will be out of whack.
This simple flow shows you how each stage builds on the last. Mess up the frame, and your cladding will be a nightmare. It all connects.
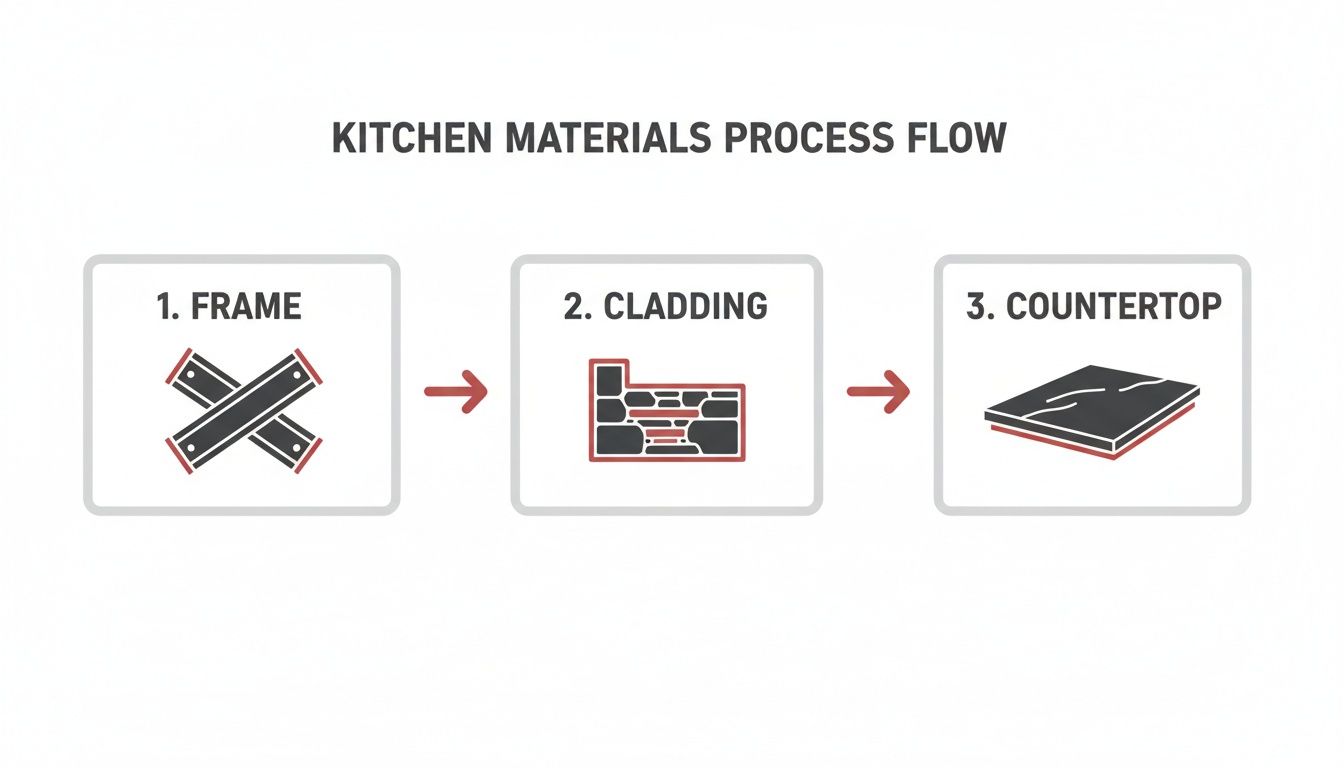
As you can see, the strength of your countertop depends entirely on the cladding, which relies completely on a square and sturdy frame.
Framing with Steel: The Only Way to Go
With your foundation set, it’s time to build the frame. For a permanent outdoor kitchen, the only material a serious builder will use is metal—typically galvanized steel studs. Why? It's fireproof, it won't warp or twist, and termites won't touch it. This is the structural integrity that guarantees your heavy grill won't sag and your granite countertop stays perfectly level forever.
Building the frame is like putting together a life-sized Erector Set. You’ll use steel studs for the vertical posts and steel tracks for the top and bottom plates. It’s pretty straightforward once you get the hang of it.
For a basic 8-foot island, here's the game plan:
- Map it Out: Cut your bottom tracks and lay out the island's footprint on your foundation. Screw the corners together with self-tapping steel framing screws.
- Go Vertical: Cut your studs to height. A common height is 34.5 inches, which gets you to a standard 36-inch countertop height after you add a 1.5-inch slab. Pop a stud in each corner, then fill in the rest every 12 to 16 inches for bomb-proof rigidity.
- Top it Off: Lock it all together by screwing the top track onto your vertical studs, making a perfect mirror of the base. Now you've got a box.
- Frame the Gear: This is where you need those appliance spec sheets handy. You'll build smaller box frames for your grill, fridge, and access doors. Pay close attention to the required "rough-in" dimensions. I always double up the studs on either side of a heavy grill insert—it’s cheap insurance.
Pro Tip: Your framing square and level are your best friends here. A frame that’s off by even a quarter of an inch will haunt you when you try to install backer board and stone. Measure twice, cut once, and check for level and square constantly.
Pause and Plan Your Utilities
Hold on. Before you get trigger-happy with the cladding, take a deep breath. This is your one and only shot to easily run your gas, electrical, and water lines. Trying to do this later is a world of pain.
Think about where everything needs to go. I like to install some horizontal cross-bracing (also called noggins) between studs where I know an electrical box will be mounted or where a water line needs to pass through. It gives you a solid surface to screw into.
Drilling access holes through the steel studs for your conduit and pipes now is a ten-minute job. Trying to do it from the inside of a finished island is a nightmare. Trust me, an extra hour of planning here will save you a weekend of frustration down the road.
Bringing Your Island to Life: Gas, Plumbing, and Electrical
Let's be real: an outdoor kitchen island without power and water is just a really, really fancy countertop. The true magic happens when you can rinse veggies right where you chop them, pull an ice-cold drink from the fridge, and fire up a rotisserie as the sun goes down. This is where your island gets its soul, but it's also where safety has to be your number one priority.
Hooking up gas, water, and electricity isn’t just about convenience. This is a serious part of the build that demands careful planning and a healthy respect for the rules. Get this part wrong, and you're dealing with much bigger problems than a burnt steak.
Powering the Flame: Gas Line Essentials
When it comes to fueling your grill, you’re looking at two main options: the incredible convenience of a permanent natural gas line or the grab-and-go flexibility of a propane tank.
A dedicated natural gas line is the dream. No more panicked, mid-party runs to the hardware store because the tank ran dry just as you threw the burgers on. But I can't stress this enough: this is a job for the pros. Tapping into your home's gas supply requires permits, inspections, and a licensed plumber or gas fitter. There is absolutely zero wiggle room for error.
Using a propane tank is far simpler and doesn't require permanent installation, but it has its own set of non-negotiable safety rules. The island cabinet housing the tank must have proper ventilation to prevent gas from pooling in case of a leak. This typically means installing vents on opposite sides of the enclosure, one high and one low.
A propane tank enclosure must have at least 20 square inches of total ventilation. This is usually split between a high vent and a low vent to allow any leaked gas (which is heavier than air) to escape safely. This isn't a friendly suggestion—it's a critical safety standard.
Getting the Water Flowing: Plumbing and Drainage
Adding a sink to your outdoor kitchen is a total game-changer. Suddenly, you've gone from a simple grill station to a full-blown prep and cleanup hub. But getting water to the island and getting it away again takes some smart planning, especially if you live somewhere that sees freezing winters.
You'll need to run both hot and cold water lines from your house, usually buried underground below the frost line. Flexible PEX tubing is the go-to material for this, as it's durable and easier to work with than rigid pipe.
The tricky part is often the drainage. The old-school method was a "dry well"—basically a buried pit filled with gravel that lets gray water slowly seep into the ground. These days, however, many local codes require you to tie the drain directly into your home's main sewer line, which is a much more complex project.
And for anyone in a cold climate, frost-proofing is absolutely essential. This involves installing shut-off valves and drain points inside your house so you can use an air compressor to blow every drop of water out of the lines before the first hard freeze.
Lighting It Up: Electrical Safety
Electricity is what gives your outdoor kitchen its after-dark personality and powers essentials like refrigerators, outlets, and rotisseries. But as we all know, water and electricity are a lethal combination, so every single detail of your outdoor wiring has to be done by the book.
First things first: every outdoor outlet must be GFCI (Ground Fault Circuit Interrupter) protected. These lifesavers are designed to instantly kill the power if they detect even the slightest short circuit. This isn't optional; it's a legal requirement.
Think through your circuits. A small outdoor fridge might only pull 2-3 amps, but a heavy-duty rotisserie motor could draw much more. It's always a smart move to put your refrigeration on its own dedicated circuit. The last thing you want is for the whole setup to go dark because the rotisserie and the mini-fridge's compressor kicked on at the same time.
Finally, set the mood. Low-voltage lighting is fantastic for creating that perfect evening vibe. It’s much safer for a DIYer to install and is perfect for under-countertop LED strips, subtle pathway lights, and task lighting right over the grill. Speaking of the grill, running the right gas lines for high-BTU models is crucial. To ensure top performance and safety, learn more about choosing the right flexible gas line kit for your setup.
Finishing Your Island With Cladding And Countertops
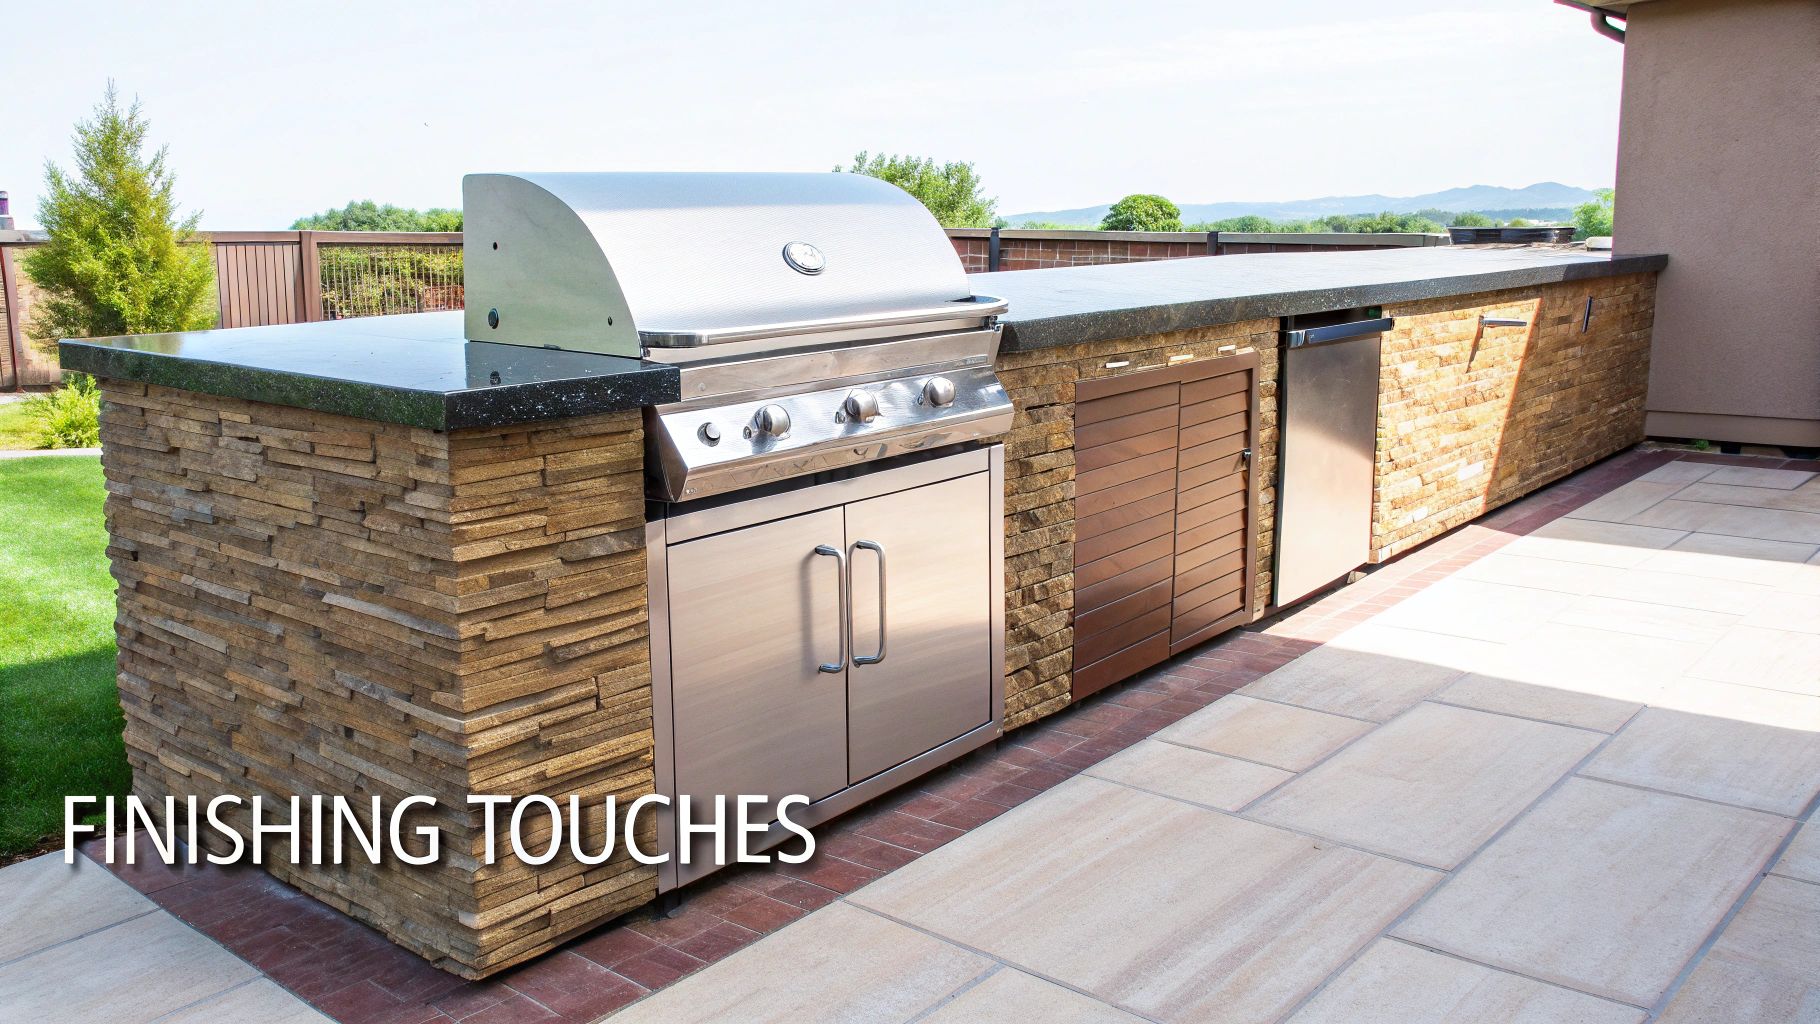
Alright, your frame is up, solid as a rock, with all the utilities roughed in. Now comes the fun part. This is where you get to put the "kitchen" in your outdoor kitchen and give that metal skeleton some serious personality.
The cladding and countertop are what everyone's going to see. They're the skin and the work surface, turning a functional frame into the show-stopping centerpiece of your backyard. Don't rush this stage. A little patience and precision here is the difference between a project that looks like a high-end custom job and one that… well, looks like you did it yourself on a long weekend. Let’s make it look pro.
Building The Perfect Canvas: Your Substrate
Before you can start slapping on that gorgeous stacked stone or tile you’ve been eyeing, you need a stable, waterproof surface to work with. You can’t just mortar things directly to the steel studs—that’s a recipe for disaster. The go-to material for this, hands down, is cement backer board.
Think of it as drywall for the outdoors. It's a tough-as-nails sheet of cement and fiberglass mesh that laughs at moisture and temperature swings. Attaching it is a breeze: just use specially designed backer board screws to fasten the sheets right onto the steel frame, covering every square inch.
Get those screw heads sitting perfectly flush with the board's surface. Then, tape and mortar the seams between the boards, just like you would with interior drywall. The goal is to create one seamless, monolithic shell that’s ready for whatever finish you’ve dreamed up.
Choosing Your Island's Look
The cladding is the suit your island wears. It sets the whole vibe, so you'll want to choose a material that plays nice with your home's exterior and existing patio style.
Here are a few of my favorite options that deliver big on looks and durability:
- Stacked Stone Veneer: A timeless classic for a reason. It gives you that rugged, authentic stone look without needing to hire a team of old-world masons. The panels are designed to interlock, which cleverly hides the seams and makes it a surprisingly forgiving project for a first-timer.
- Porcelain Tile: If you're chasing a sleek, modern aesthetic, large-format porcelain tiles are tough to beat. They're incredibly dense, so they won't stain from that spilled glass of red wine, and they're completely UV-resistant. The sheer variety of colors and patterns available is staggering.
- Stucco: For Mediterranean or Southwestern homes, a traditional stucco finish is a fantastic choice. It’s definitely more labor-intensive, requiring a few different layers, but the result is a seamless, tough finish you can tint to literally any color you can imagine.
Pro Tip: Every amazing finish starts with a perfect first row. Whether you're using stone or tile, grab a level and draw a dead-straight starting line around the base of the island. If that first course is flawless, every row you stack on top will follow suit.
The Crowning Glory: Your Countertop
The countertop is the crown jewel of the whole operation. It’s where you'll be prepping food, serving drinks, and leaning while you hold court at the grill. This is not the place to skimp.
For any DIYer, creating an exact template is non-negotiable. I use thin strips of luan plywood or even sturdy cardboard, hot-glued together, to map out the top surface perfectly, including cutouts. This template is what you (or your fabricator) will use to make the final cuts in that very expensive slab of material. One mistake here is costly.
Granite and quartzite are still the champions for their raw durability and ability to handle a sizzling-hot pan straight from the grill. For a more industrial or custom vibe, polished concrete is a great option, but you have to be diligent about sealing it to prevent stains. Whatever you choose, make sure it has a 1 to 1.5-inch overhang on all sides. This little detail protects the cladding below from rain and spills.
It's clear that people want more than just a place to grill. While cooking fixtures still make up the biggest slice of the pie at 45.73% of the U.S. outdoor kitchen market in 2024, components like refrigerators are the fastest-growing segment. You can dig into more of this data with research from Grandview Research. This just proves that comprehensive outdoor kitchen island plans need to account for storage and cooling from the get-go.
Installing The Finishing Touches
It’s the small details that take a project from "good" to "wow." Installing your stainless steel access doors and drawers is one of the last major steps. These units are typically designed to slide right into the openings you framed out earlier, securing easily with a few screws into the frame.
Not only do they give you critical access to your gas and water shut-offs, but they also give the island that polished, professional look. Finally, apply a high-quality sealer to your countertop and any natural stone cladding. Think of it as sunscreen and a rain jacket for your investment—it's your best defense against grease, wine, and weather, keeping your masterpiece looking brand new for years. Speaking of longevity, if you're outfitting the rest of your space, it's worth learning why Grade-A teak is worth the investment for outdoor furniture.
Your Top Outdoor Kitchen Questions, Answered
Look, even the most bulletproof plans run into real-world questions. It’s totally normal. I’ve put together the most common head-scratchers I hear from guys building their first outdoor kitchen, along with the straight-up answers you need to get back to work.
What's the Best Material for an Outdoor Kitchen Island Frame?
Don't overthink this one: go with a metal frame. Specifically, galvanized or stainless steel.
I know, I know—pressure-treated wood looks cheaper on paper. But trust me, it’s a trap. Wood inside a sealed-up island is a ticking time bomb for rot, moisture, and pests. Air can’t get in there to dry it out properly.
A steel frame, on the other hand, is a build-it-once-and-forget-it solution. It’s fireproof, shrugs off water completely, and won’t warp, twist, or sag over time. This is the secret to keeping your expensive stone and countertops from cracking down the road. It’s what the pros use for a reason.
I’ve been called out to jobs where a wood frame failed in less than three years, causing thousands in damage to the stone veneer and granite tops. Starting with steel is the single most important decision you'll make for the life of your island.
Do I Actually Need a Permit for This Thing?
This is a big one. The short answer? It depends.
If you’re just building a simple island on wheels for a standalone propane grill, you're probably fine. But the game changes the second you start talking about permanent utilities.
Tapping into a natural gas line? Running new electrical circuits? Plumbing a sink with a drain? You’re almost certainly going to need a permit and a proper inspection. Messing up gas or electrical work isn't just a do-over; it's a serious safety risk.
Do yourself a massive favor: make a quick call to your local building department before you even buy a 2x4. A five-minute chat can save you from a world of hurt, potential fines, and having to tear everything out.
What's the Real Cost for a DIY Outdoor Kitchen Island?
The final price tag can swing wildly, but let's get realistic. For a solid, high-quality DIY outdoor kitchen island, you should budget somewhere between $4,000 and $12,000. That's for the structure itself, not including the appliances.
What moves the needle most? Your finishes.
- Cladding: Real stone veneer is going to hit the wallet a lot harder than a simple stucco finish.
- Countertop: A beautiful slab of granite or quartzite is a much bigger line item than, say, poured concrete.
While that range might give you pause, remember that having a pro build the exact same island can easily run you over $20,000. By putting in the sweat equity and choosing your components wisely, you end up with a high-end setup for a fraction of the cost. For help choosing those key components, check out our guide on the best outdoor kitchen appliances to see what fits your build.
Ready to get started on the backyard you've been dreaming about? At URBANMANCAVES, we've got the heirloom-quality grills, appliances, and components you need to turn those outdoor kitchen island plans into reality. Check out our collections and let's get building.


